
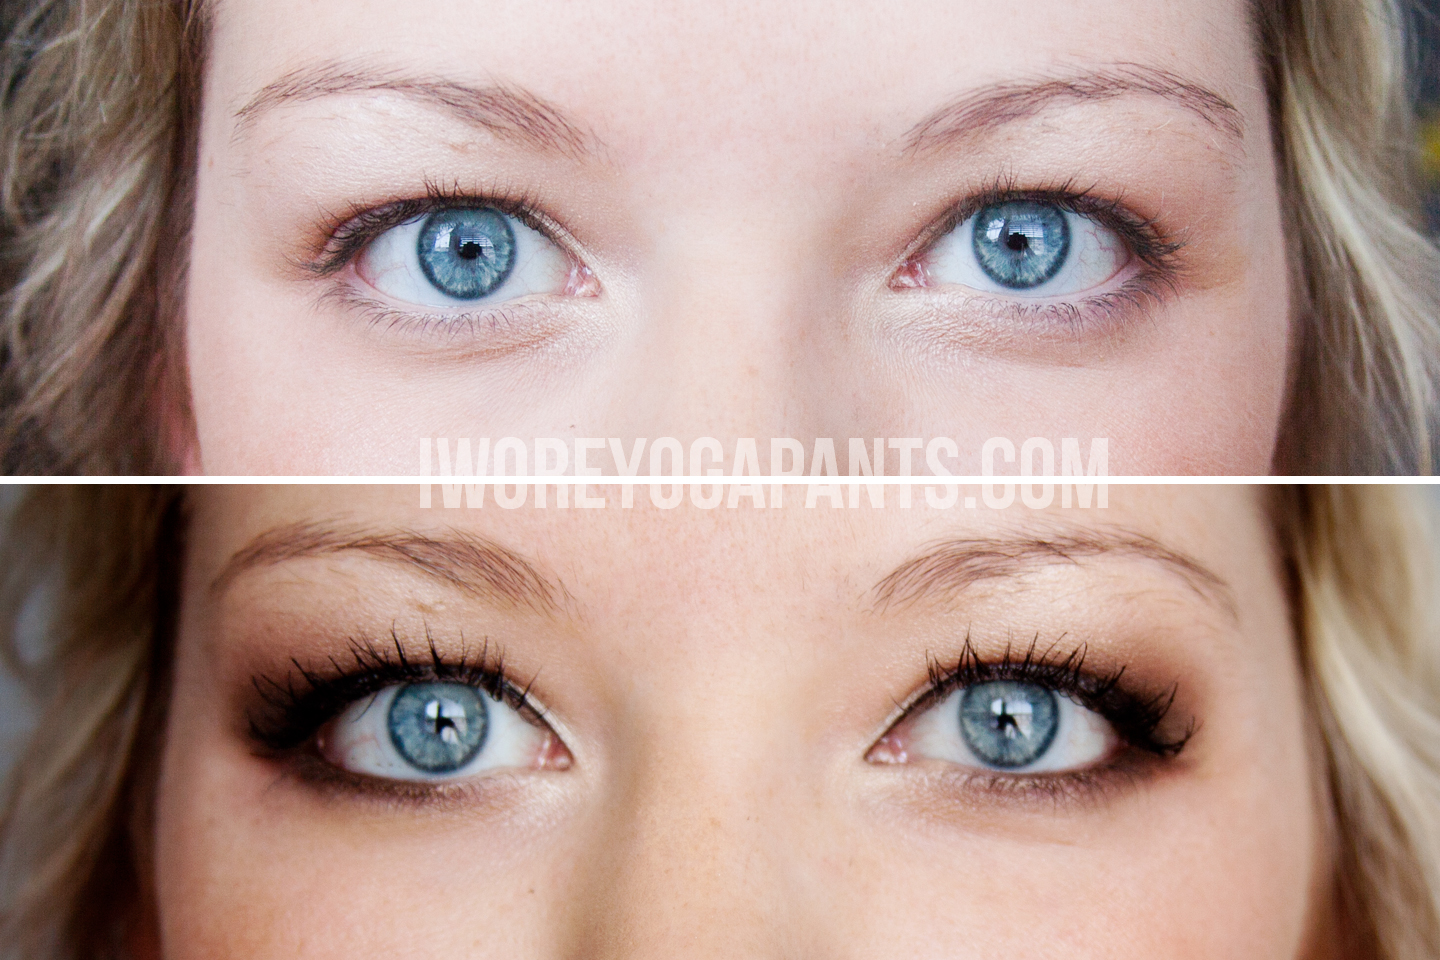
I feel slightly like a scam blogger today, as I'm posting this wearing zero makeup up, but... Last week I shared a natural eyeshadow tutorial with you all and it seemed to go over really well, so this week I'm going to share another makeup tutorial!
This week I'm going to show you how I do my more "going out" look!
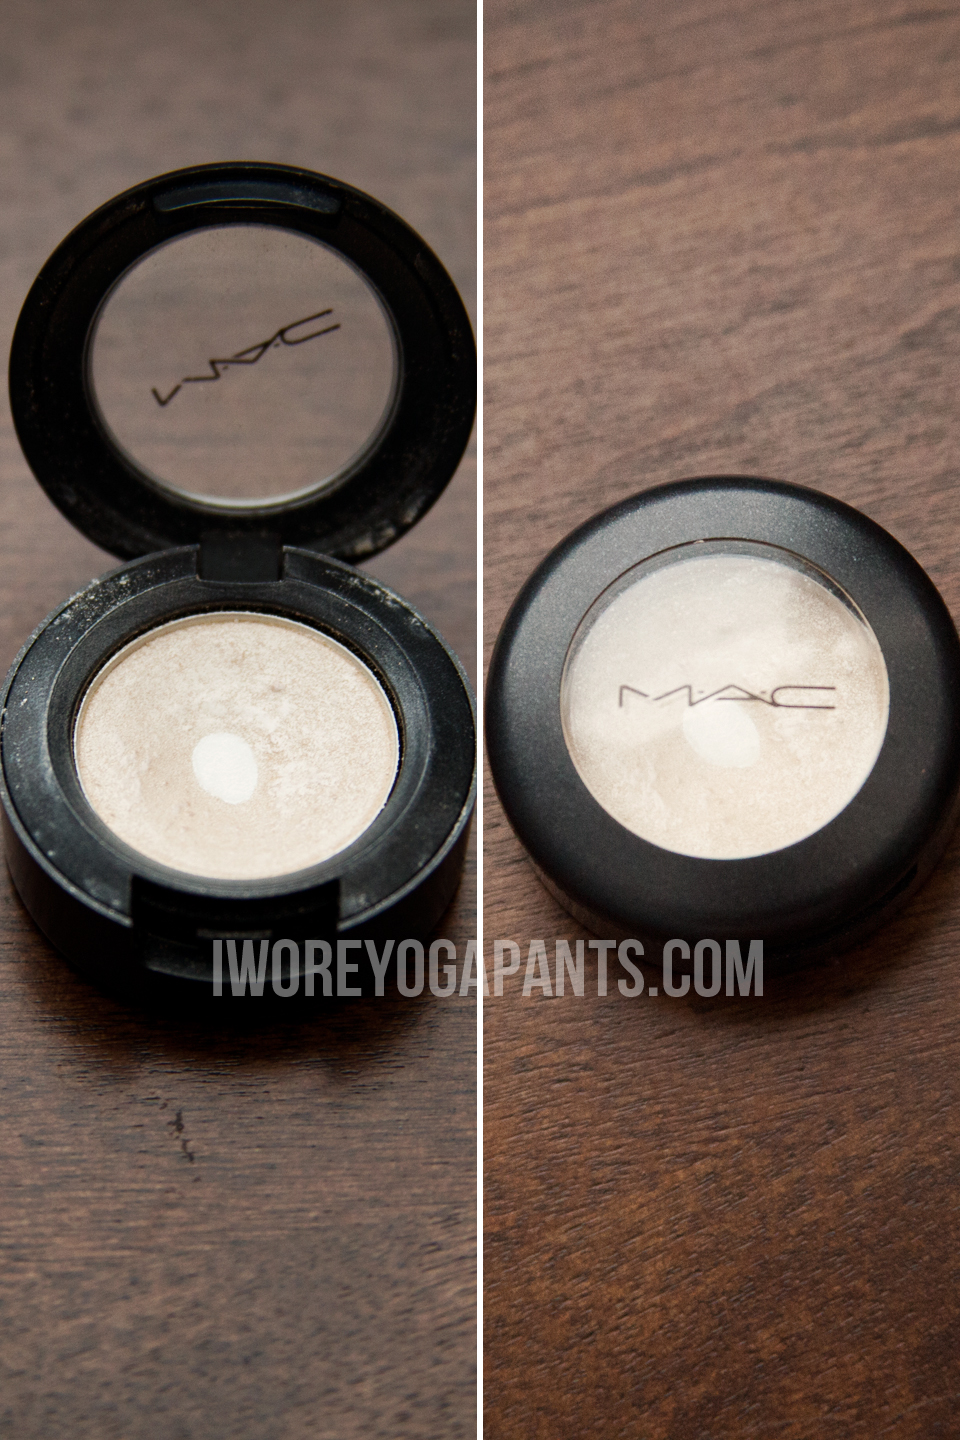
As always, I start with -
Shadow: MAC - Nylon
Brush: Finger
I marked where I put Nylon with a low opacity brush in Photoshop (if you couldn't tell that was Photoshopped).
Again, this part makes a nice highlight at the corner of your eye as well as your brow bone.
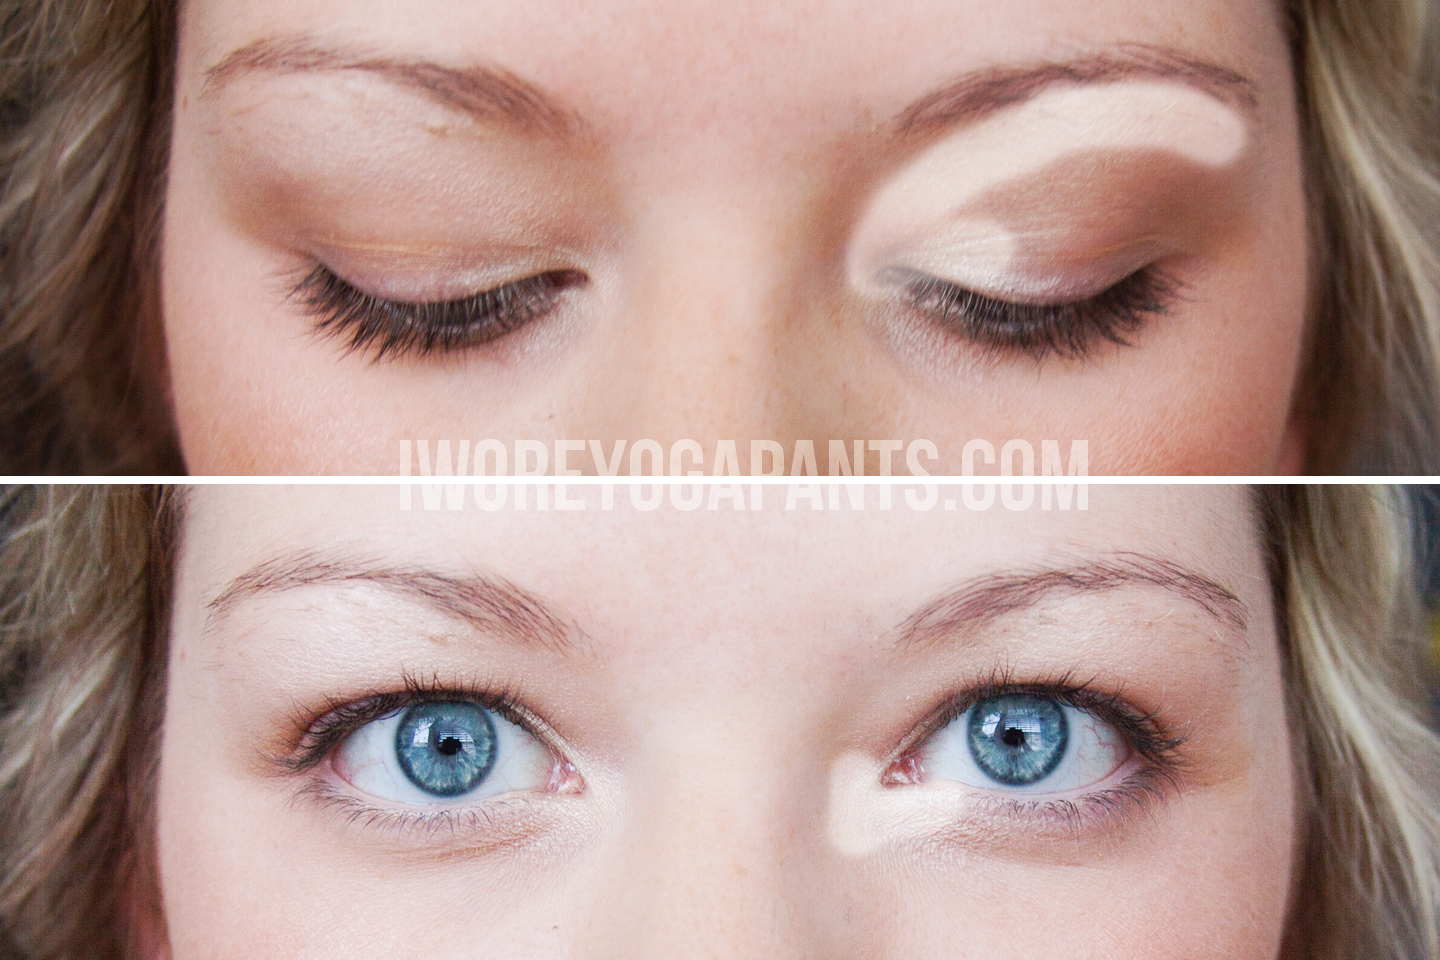
The next step is also the same as last week -

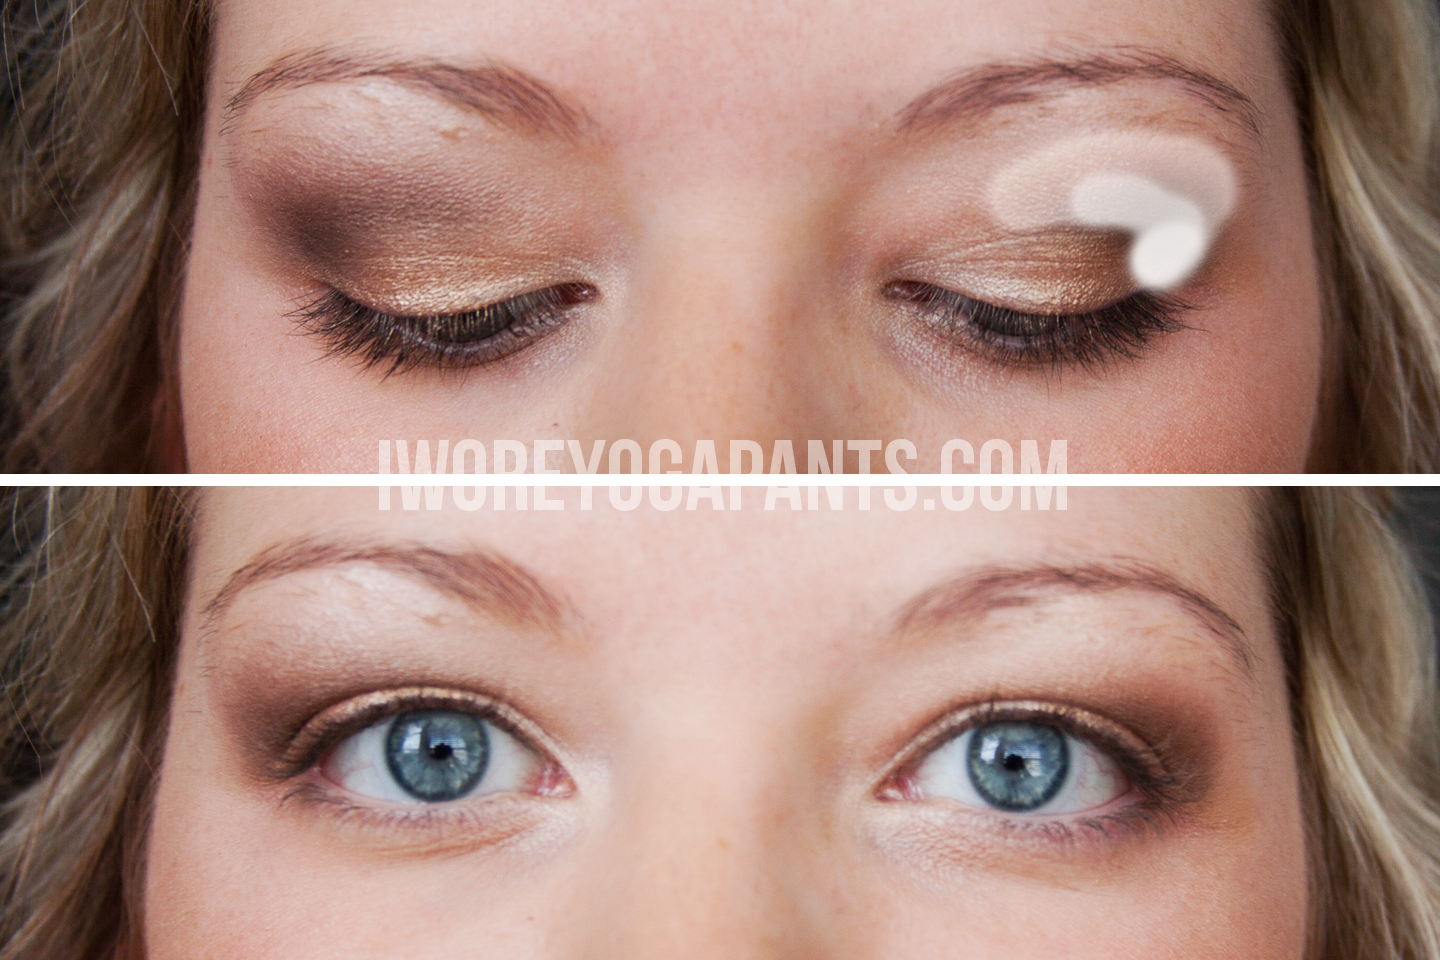
Shadow: Urban Decay (Naked 1 or 2 Palette) - Half Baked
Brush: Finger

Apply to your eyelid, blending with the nylon at the corner of your eye.

Now we're going back to the Urban Decay Naked 1 palette and brush.
Shadow: Urban Decay (Naked 1) - Naked
Brush: The brush that comes in the Naked 1 palette
Take a nude shadow and "fill in" the area of your eye that we've not yet put shadow on - more specifically, the crease or the area above your eyelid and below the brow bone.

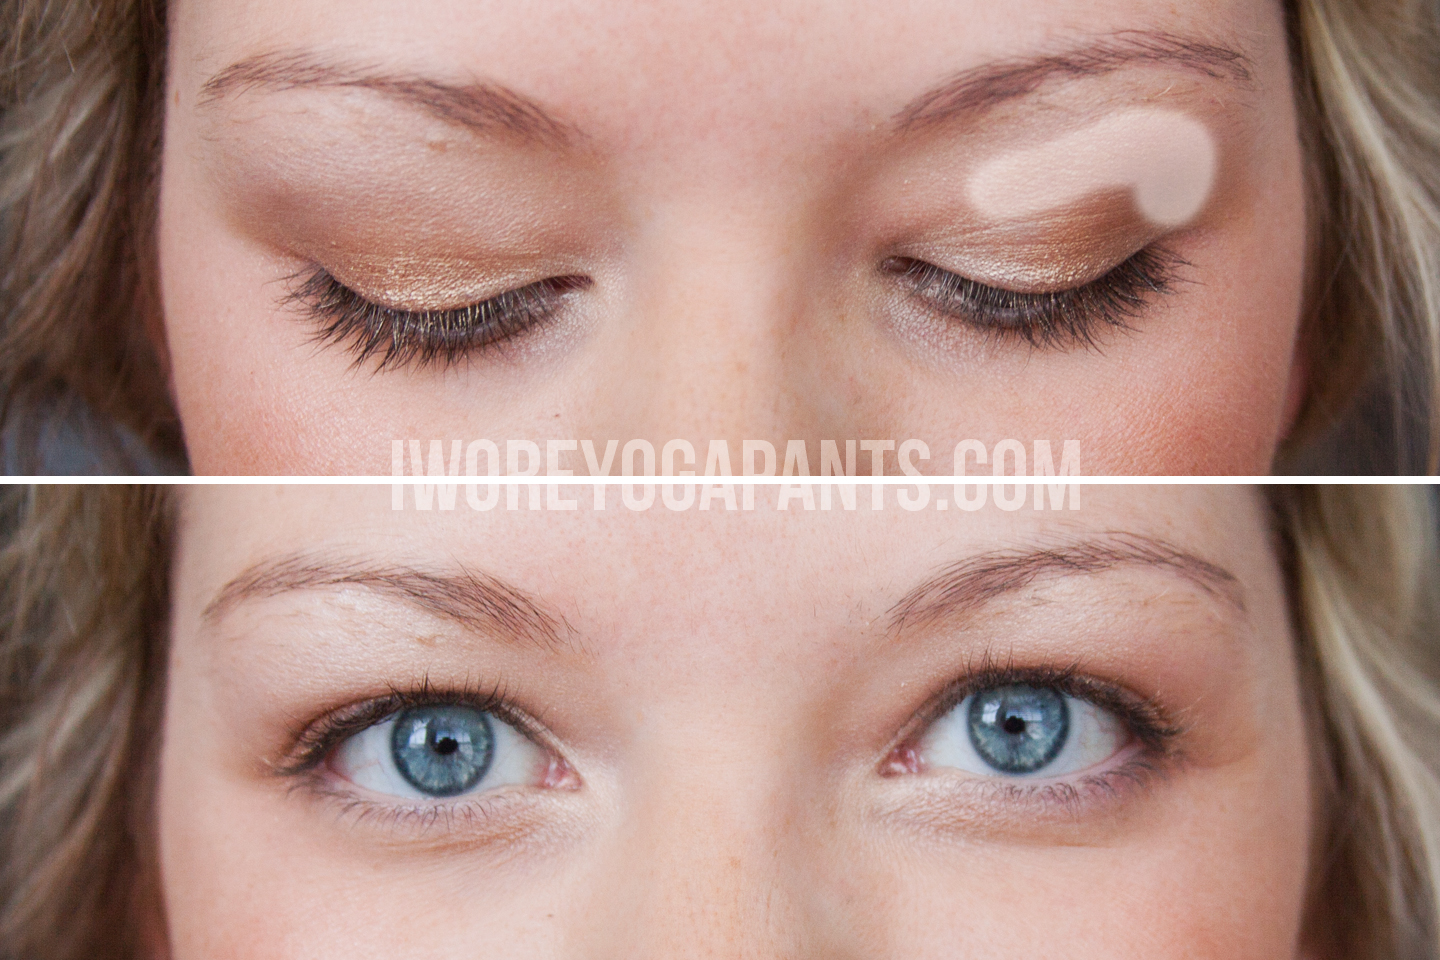
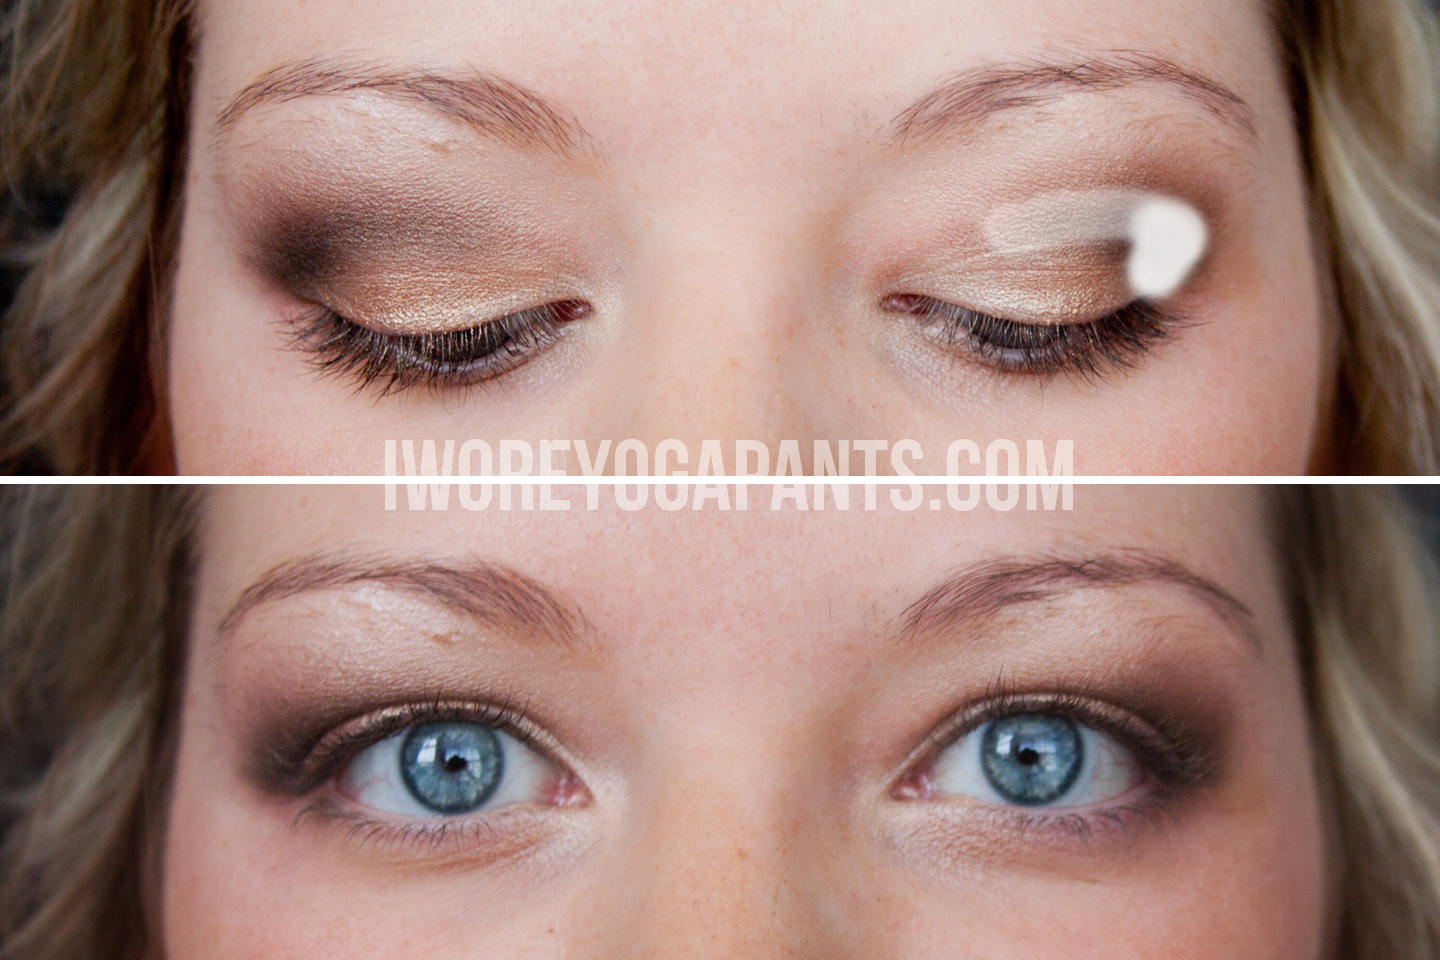
Shadow: Urban Decay (Naked 2) - Snakebite
Brush: MAC 217
Now is when you want to create the real smokey effect. Focus on the crease and blend upward - making the darkest area the crease and corner (noted by the darker opacity Paintbrush).
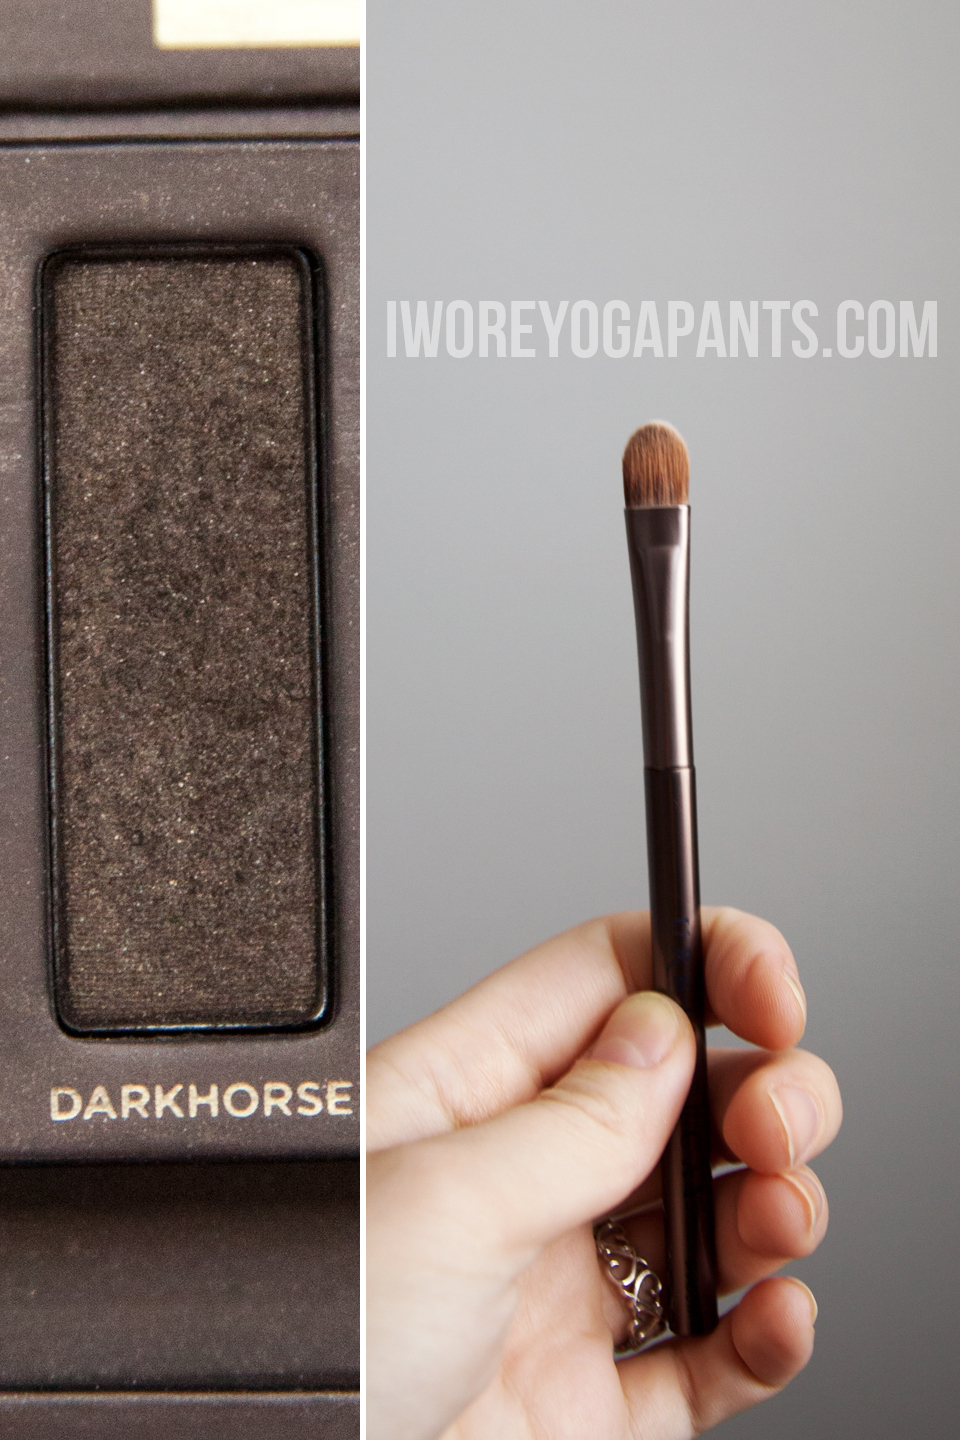
Shadow: Urban Decay (Naked 1) - Dark Horse
Brush: Urban Decay Naked 1 brush
Using a very dark brown you want to really accentuate the crease and corner.
*If you don't have a deep crease to your natural eye use the dark brown to make it appear you do. The glory of makeup!*
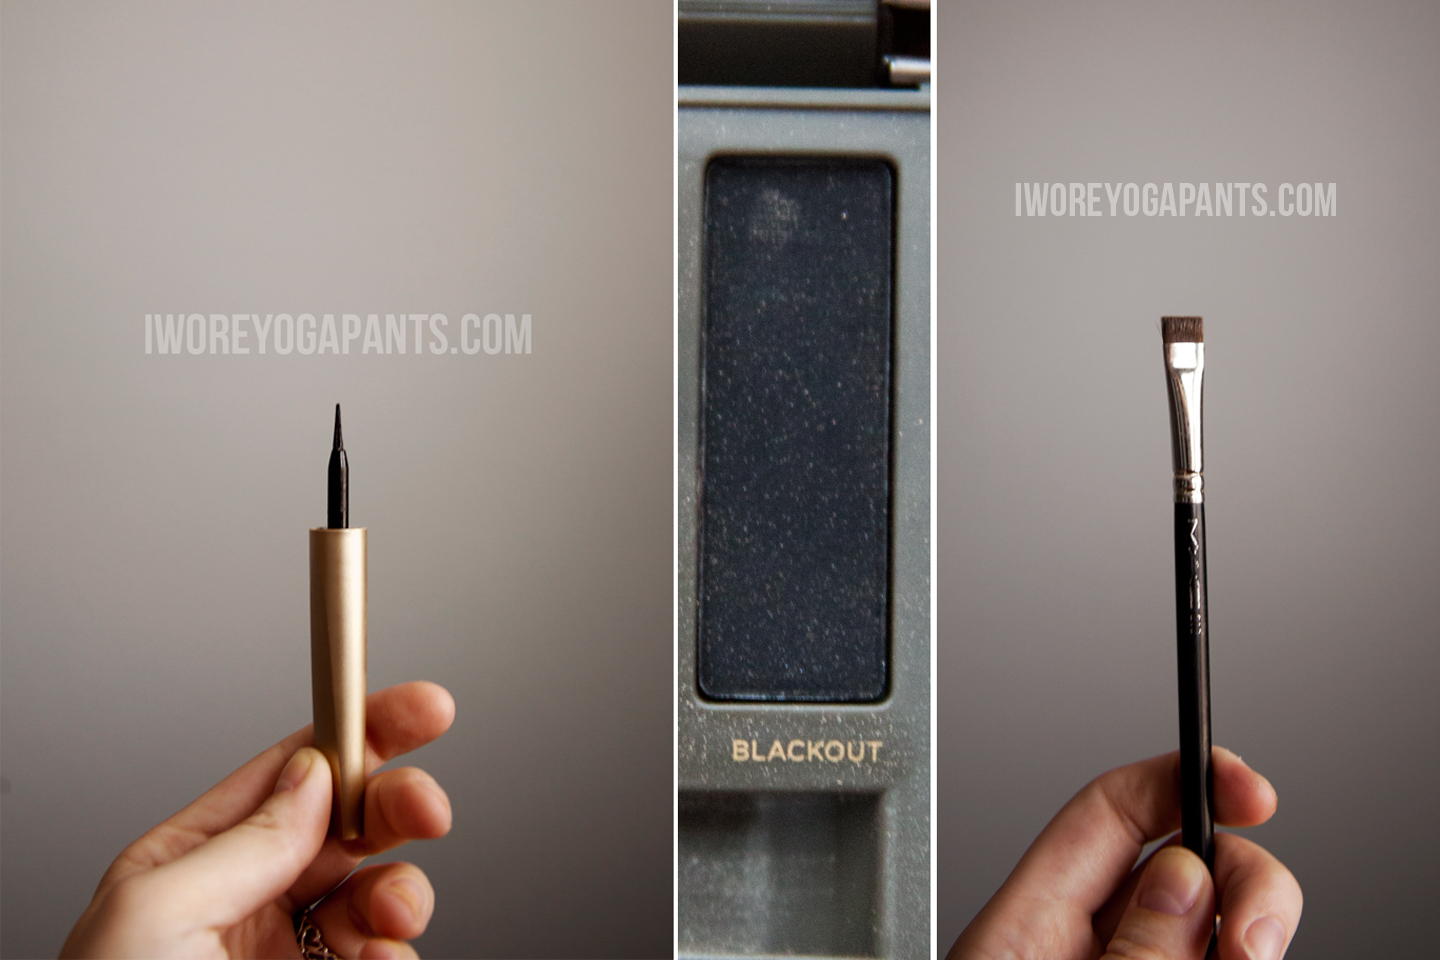
Top Eyeliner
When I'm doing eyeliner for a night out I always use a black shadow and liner brush on top of the liquid liner by tracing over the liquid line. This will help keep your upper liner from coming off.


Bottom Liner
I use a dark shadow for bottom eyeliner because I think I looks a lot more natural than pencil or liquid. I always keep my bottom liner darker at the outer corners and blend inwards towards the light shadow (MAC - Nylon) at the inner corner.

MAC - False Lashes Extreme Black
Add your mascara.

Voila!
Like this tutorial?
That's all I've got for you today, loves.
Ciao!
Gorgeous! I love this and your how-to is super easy to follow! Trying this today!
Replyoh and I totally pinned this!
ReplyGorgeous. I will try this. And fail. Ha : ) But it looks beautiful.
ReplyBeautiful! Ok...is it bad that I'm 31 and have always lined my eye BEFORE applying shadow??? :) Can't wait to try this!
ReplyWhat a wonderful tutorial! I need to try this! YOU ARE BEAUTIFUL!!!!!!!!!
ReplySO pretty! I'm so awful at doing my eyeshadow like this. Just come be my makeup artist?
ReplyHey girl, I just want to say that I always love your tutorials! You make these techniques so easy to follow, it's really helpful for a makeup spaz like me!
ReplyI'm all about make up ! ! I'm loving this!!
ReplyAlso, I just have to say that MAC is the way to go!! :)
love it! so glam!
ReplyThis was a great tutorial!
ReplyLiz
i couldn't help but wonder...
Very pretty!
ReplyClarissa
LOVE this look! I am a bridesmaid in my friends wedding this weekend and I am SOO going to use this tutorial! thanks so much for sharing!
ReplyLove love looove this tutorial!
ReplyLove Love love this look.
Replyexcellent! it makes a statement, but i feel like it's not as abrasive as other smoky eye tutorials i've seen on pinterest. thanks! :)
ReplyGawd you have gorgeous eyes, even au natural.
ReplyGreat tutorial. I love going out makeup!
I love this post and I learned something new!! I like the idea of black liner on top and dark brown on bottom. Will definitely try that out!!
ReplyI have fair skin and pale skin, so I always feel like a prostitute when I wear a lot of eye makeup, so glad you showed me how to properly do a smokey eye! Can't wait to try it! New follower!
ReplyThis is beautiful! I like how you pointed out the areas where you put the shadow. I always end up looking like I got punched in the eye when I try smokey eyes. :\
ReplyBE-YOOO-TIIII-FULLLLLLLLL!
ReplyGorgeous and I really love this tutorial. I really like the photoshopped in parts...that helps a lot! Also how in the worllld do you get your liner so straight on top?!
ReplyWow, that turns out so beautiful! Thank you for posting it!
ReplyI have almost all these colors and currently, no makeup on, so I'm tempted to go upstairs and try this out right now! It looks fabulous! I feel like I just look a wreck when I put very many colors on...but I think I just give up too easily!
Replythis is a beautiful tutorial! i love it :) totally sharing it with my readers!
ReplyI clicked on your ad from MessyDirtyHair and have found myself reading random posts on your blog for about a half hour now so I'm your newest follower!
ReplyI love this tutorial and will have to try it (although, with cheap drugstore brands)! I'm hopeless with makeup so hopefully I'll be able to recreate what you did!
Thanks!
Absolutely gorgeous. I am 2 steps away from buying a Naked Palette right now. Tell me, do I REALLY need it?? ;-)
ReplyWow! You look like a model. Your first and last pictures seriously look like Bare Minerals ads! Gorgeous!
ReplyJUST found your blog and I'm in LOVE :)
Replygrace
http://herumbrella.com